How to play Picture Cross
Picture Cross puzzles (also known as Nonograms, Picross, Hanjie or Griddler puzzles) are played by millions of people every day in both pen and paper and digital forms.
We’ve prepared this quick and easy guide for new players - or as a refresher if your Picture Cross skills are a little rusty - so you can enjoy these uniquely satisfying logic puzzles.
Watch the video (above) to see a step by step guide to solving Picture Cross puzzles.
01. The Basics
Each Picture Cross puzzle begins with an empty grid of squares, with a set of clue labels running along the top and left-side edges.
The object of the game is to fill in the correct squares on the grid so that all the clues are satisfied - which will reveal a picture.
A clue label is a list of numbers that describes how the squares on the adjacent line (row or column) of the grid should be filled in.
Each number in a clue means: an unbroken block of that number of filled squares appears on the line.
These blocks of squares must be entered into the line in the order they're listed in the clue, with at least one blank space between each block.
However, the clue labels do not specify how many blank squares occur before, after or between each block! As a result some clues are ambiguous at the start of the puzzle.
So the method for solving Picture Cross puzzles is to gradually fill in the squares based on the information you know for certain. Even partially solving one clue label reveals new information that will help you to solve the other clues.
The most important rule when solving a Picture Cross puzzle is to never guess.
02. Getting Started
A good first step is to check each of the clue labels to find clues that are complete.
This means that there is only one possible solution for that clue because it describes a set of blocks that exactly fit the width (or height) of the grid.

For example, if the puzzle grid is 10x10 squares, a clue label of "10" denotes that all the squares on that line must be filled.
Similarly, a clue label of "7 2" can be filled in straight away: the clue denotes:

7 filled squares, then at least 1 blank square, then 2 filled squares
...for a sum total of 10. (We can deduce that there aren't any more blank squares before, after or between the blocks as this would require more than 10 squares to fit.)
If you have deduced that a square on the line must not be filled according to the known information, you can mark it with an X. This can come in useful as we proceed with the other clues, as we'll see.

Each line that is solved (or partially solved) provides new information that can help in solving the perpendicular lines.
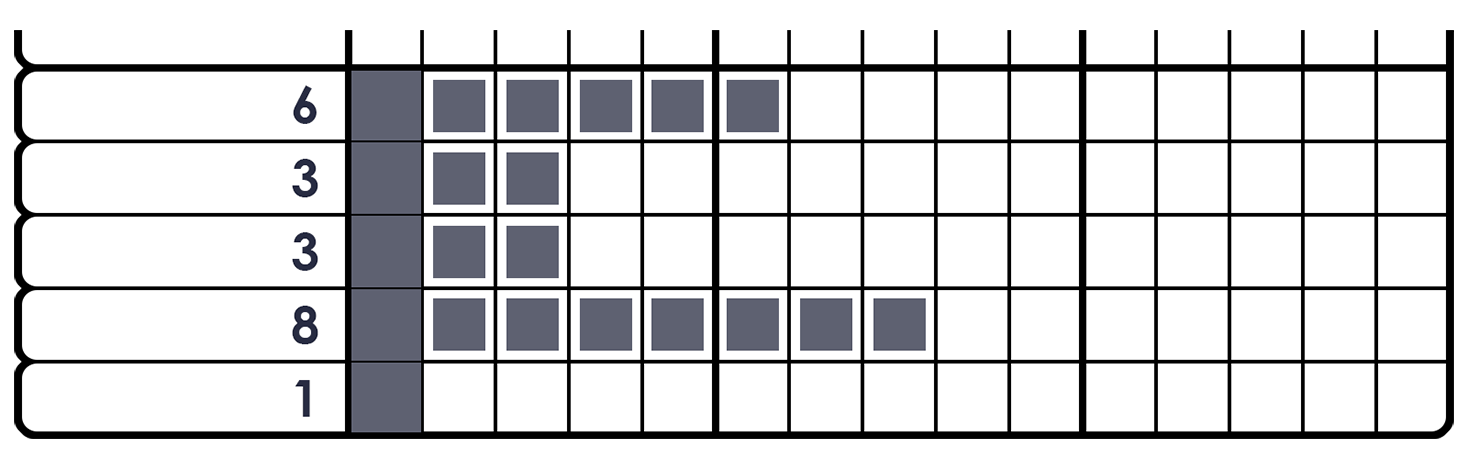
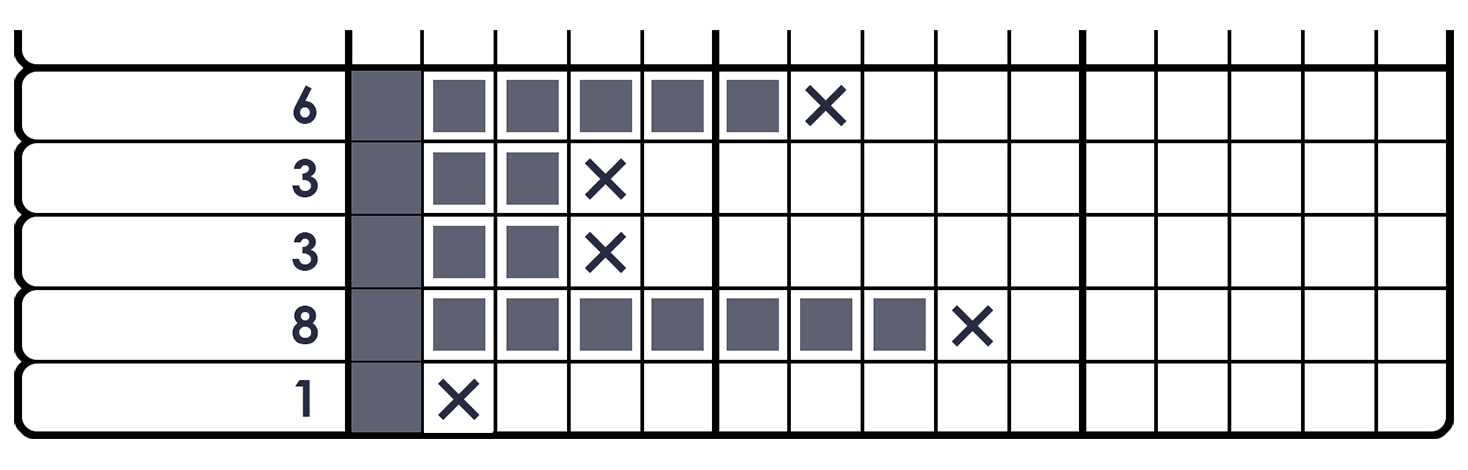
03. Simple Boxes
If a clue label only contains one number, and that block would fill more than half of the total length of the line, there are some squares that must always be filled no matter where in the line the block is placed. We call this finding the intersection.
Example: on a 15x15 grid, a line with clue "10" will always have the middle five squares filled.

This technique can also be applied to lines with multiple number clues:
1. Work out the minimum length version of the line the clue describes.
2. Now try placing this 'composite block' at either end of the line.
3. But be aware that squares only count as intersections in the final line if they're part of the same component block. Short blocks will often fall through the cracks!
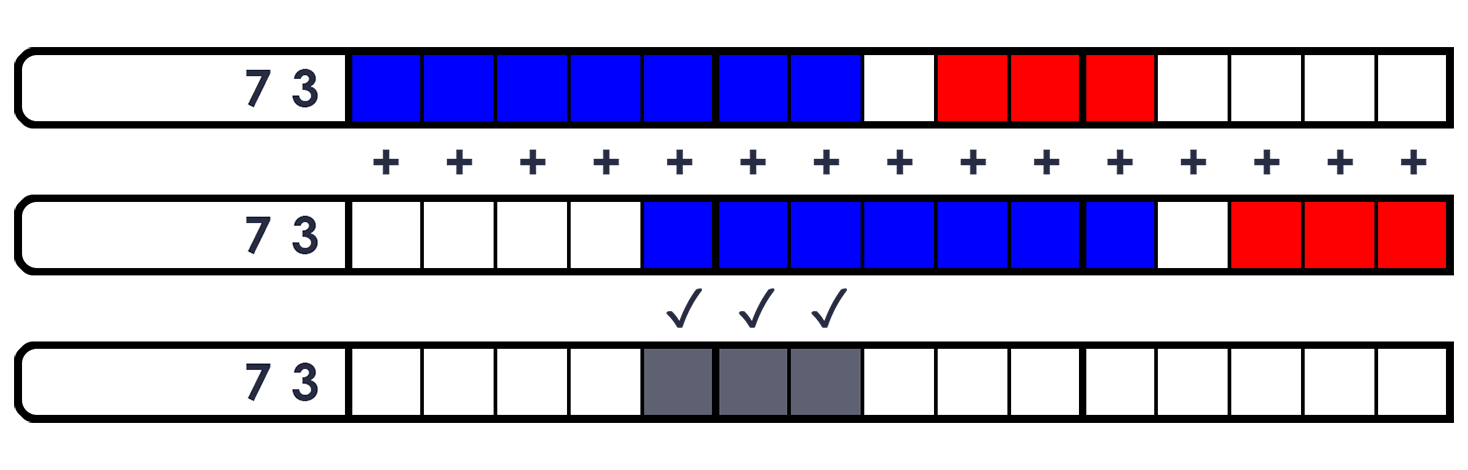
Example: on a 15x15 grid, a line with the clue "7 3" would produce a union on the 5th, 6th and 7th squares (the middle section of the "7" block), while the position of the "3" block would not be determined (as the extremes are so far apart that none of the squares overlap).
04. Anchoring
When squares at the edges of the grid are filled (by solving all or part of the clues for the first and last row or column), this provides us with some information that can be used to help solve the perpendicular clues.
If the first (and/or last) square on a line is filled, the first (and/or last) block described in that line's clue must start at the edge of the grid.
This technique is sometimes also called 'glue'. You can picture it as pushing the block onto the grid 'through' the filled block, extruding it to its final length.
Furthermore, we know that the square immediately after the end of the block must be blank - so we can go ahead and place an X here.
A more advanced version of this technique is to apply it when there is a small gap between the filled square and the edge of the grid. As long as the block described in the clue is longer than the gap, we can deduce that the squares on the opposite side of the gap up to the total length of the block are filled:
05. Joining and Splitting
There are some other simple techniques we can apply to fill in more information on completed lines.
If a line has a single number clue, and there are already two or more separate blocks of squares filled on the line, the gaps between those filled squares can logically be filled.

Similarly, if a line has (for example) a two number clue, and contains two separate filled blocks that are too far apart to be part of the same block, we can consider the completed configuration where the two blocks would be closest together, and mark any blank squares between the two with Xs.

Joining works for Xs, too. You can fill gaps between Xs that are too narrow to fit any of the remaining blocks in the clue for that line.

06. Free Space
Any empty squares on a partially completed line that are too distant to form part of any of the blocks described in the clue can be determined to be definitely empty and marked with Xs.

Example: on a 15x15 grid, if a line has a clue of "5" and only the middle square is filled, we can deduce that any square further than four squares away from that filled square must be blank. This would leave four 'unknown' squares on each side of the filled square, accommodating all five possible positions in which the block can be placed.
07. Punctuation
Once one or all blocks described in a line's clue have been placed, we can add Xs to the empty cells to add information to the perpendicular lines.

Example: if we have a row with the clue "2 2 5", and the block of 5 squares has already been filled a few squares from the end, we can place an X at either end of that block. As it's the final block in the clue, we can also fill all the empty squares to the right of it with Xs.
You're ready to play!
If you’ve followed along so far, congratulations - you now know the basic strategies that will help you complete Picture Cross puzzles.
You can download our Picture Cross app to start practising your skills straight away.